Introduction
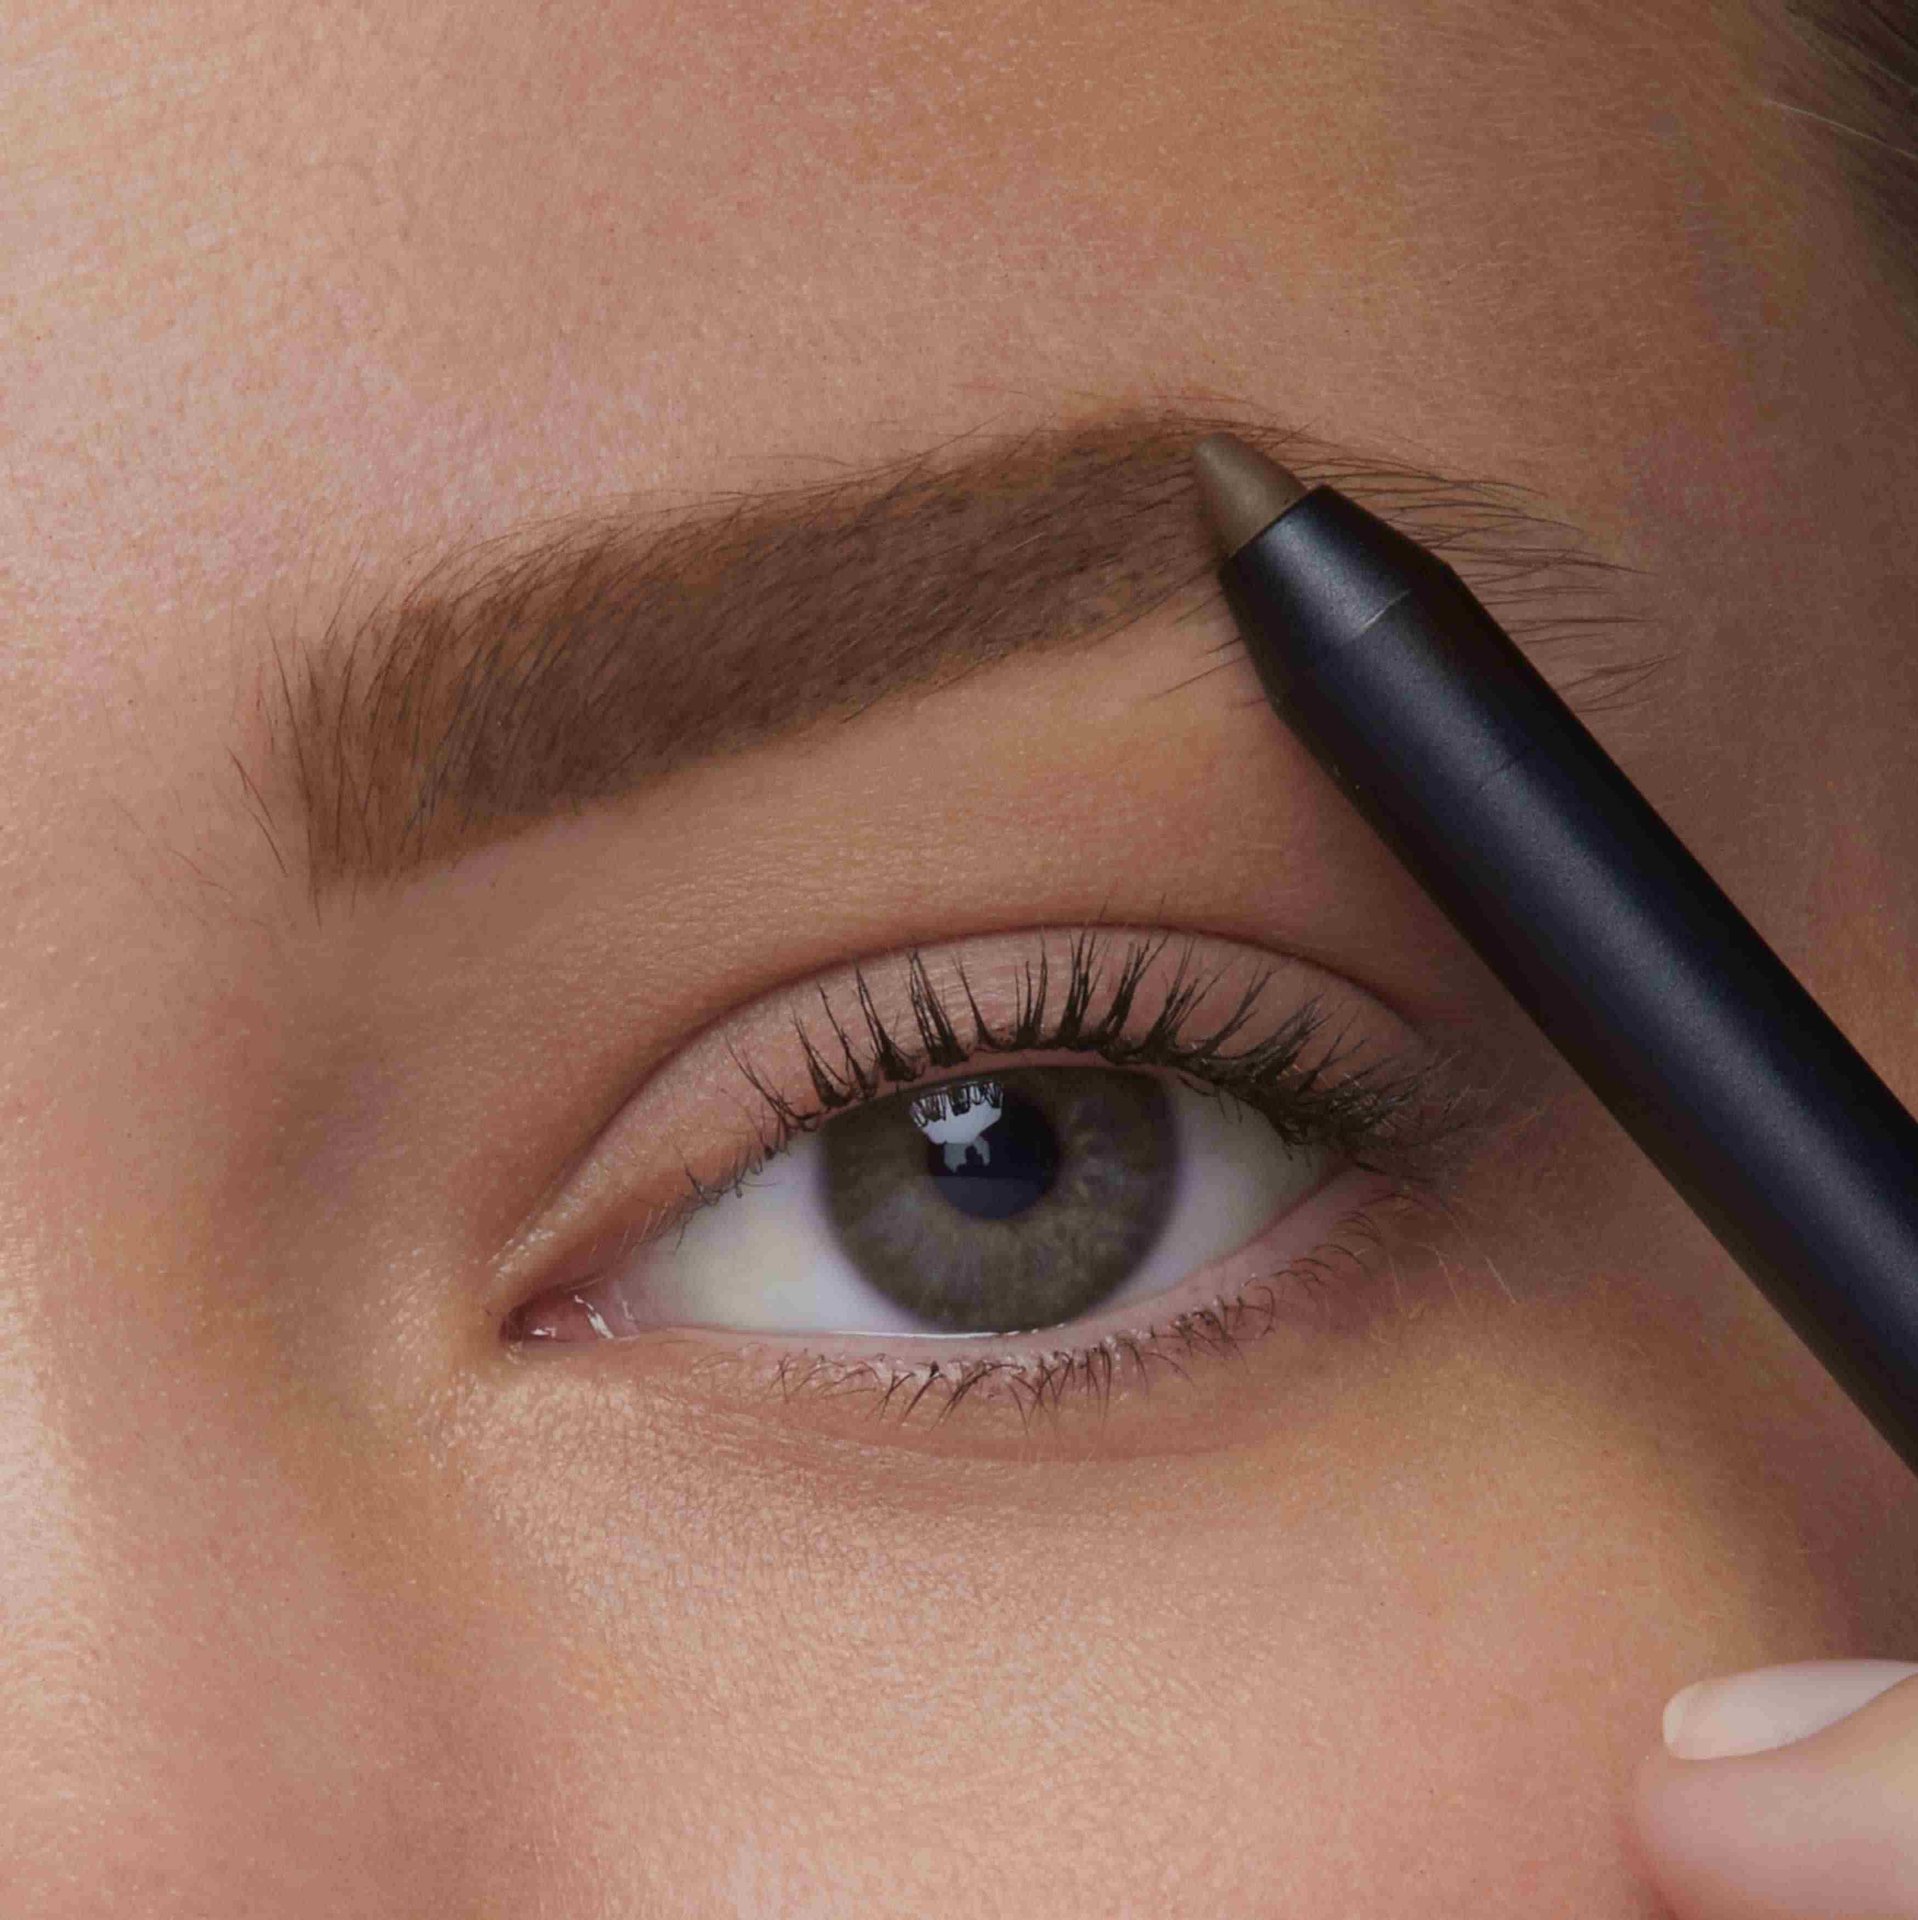
An eyebrow pencil is a makeup tool used to fill, shape, and define the brows. In the United States, it is sold as an eye-area cosmetic and usually has a wax, cream, or powder-based color inside a wood or plastic casing.
You can use an eyebrow pencil to fill small gaps, make light brows look fuller, or create a clearer brow shape. The best result should look like natural hair, not a solid drawn line.

What Is an Eyebrow Pencil?
An eyebrow pencil is a narrow cosmetic pencil made for applying color to the eyebrows. It often has a pointed tip, a spoolie brush, or both.
The pencil adds color to the skin and brow hairs. This can make the eyebrows look thicker and more even. It does not permanently change hair growth or reshape the brow itself.
Most eyebrow pencils contain some mix of:
- Color pigments
- Waxes or oils
- Emollients that help the pencil glide
- Binding agents that hold the formula together
- Preservatives, when needed
- A wood, plastic, or retractable casing
An eyebrow pencil is different from an eyeliner pencil. Eyeliner is made for the eyelid or lash line. It may be softer, darker, or more prone to smudging. An eyebrow pencil is usually firmer so you can make small, hair-like marks.
What does an eyebrow pencil do?
An eyebrow pencil can help you:
- Fill sparse spots
- Add color to pale brow hairs
- Define the top or bottom edge of the brow
- Extend a short brow tail
- Make both brows look more balanced
- Create a fuller look without changing the natural brow
It can also help people who have naturally thin brows or temporary gaps. However, it only changes the look of the brows while the makeup is on.

How Does an Eyebrow Pencil Work?
An eyebrow pencil deposits a thin layer of pigment on the brow hairs and the skin beneath them. The wax or cream base helps the color stay in place.
The amount of pressure changes the result. Light pressure makes a soft mark. More pressure makes a darker and wider mark. This is why a pencil can create either a natural or a bold brow.
A spoolie brush helps spread the color. It also removes excess product and blends harsh edges. This step often makes the largest difference between a natural brow and an obvious drawn brow.
Eyebrow pencil versus eyebrow marker
An eyebrow pencil usually gives you more control than a marker. You can build the color slowly and soften it with a brush.
An eyebrow marker often gives a stronger stain or sharper lines. It may suit someone who wants a bold look, but it can be less forgiving if the line is too dark or misplaced.
Eyebrow pencil versus eyebrow powder
Eyebrow powder gives a soft, hazy finish. It may work well for people with oily skin or for anyone who wants a gentle effect.
A pencil is better for drawing individual-looking strokes and filling small gaps. Some people use both: pencil for sparse areas and powder for soft blending.
Types of Eyebrow Pencils
Eyebrow pencils come in several forms. The right type depends on the finish you want, how much control you need, and how often you plan to use it.
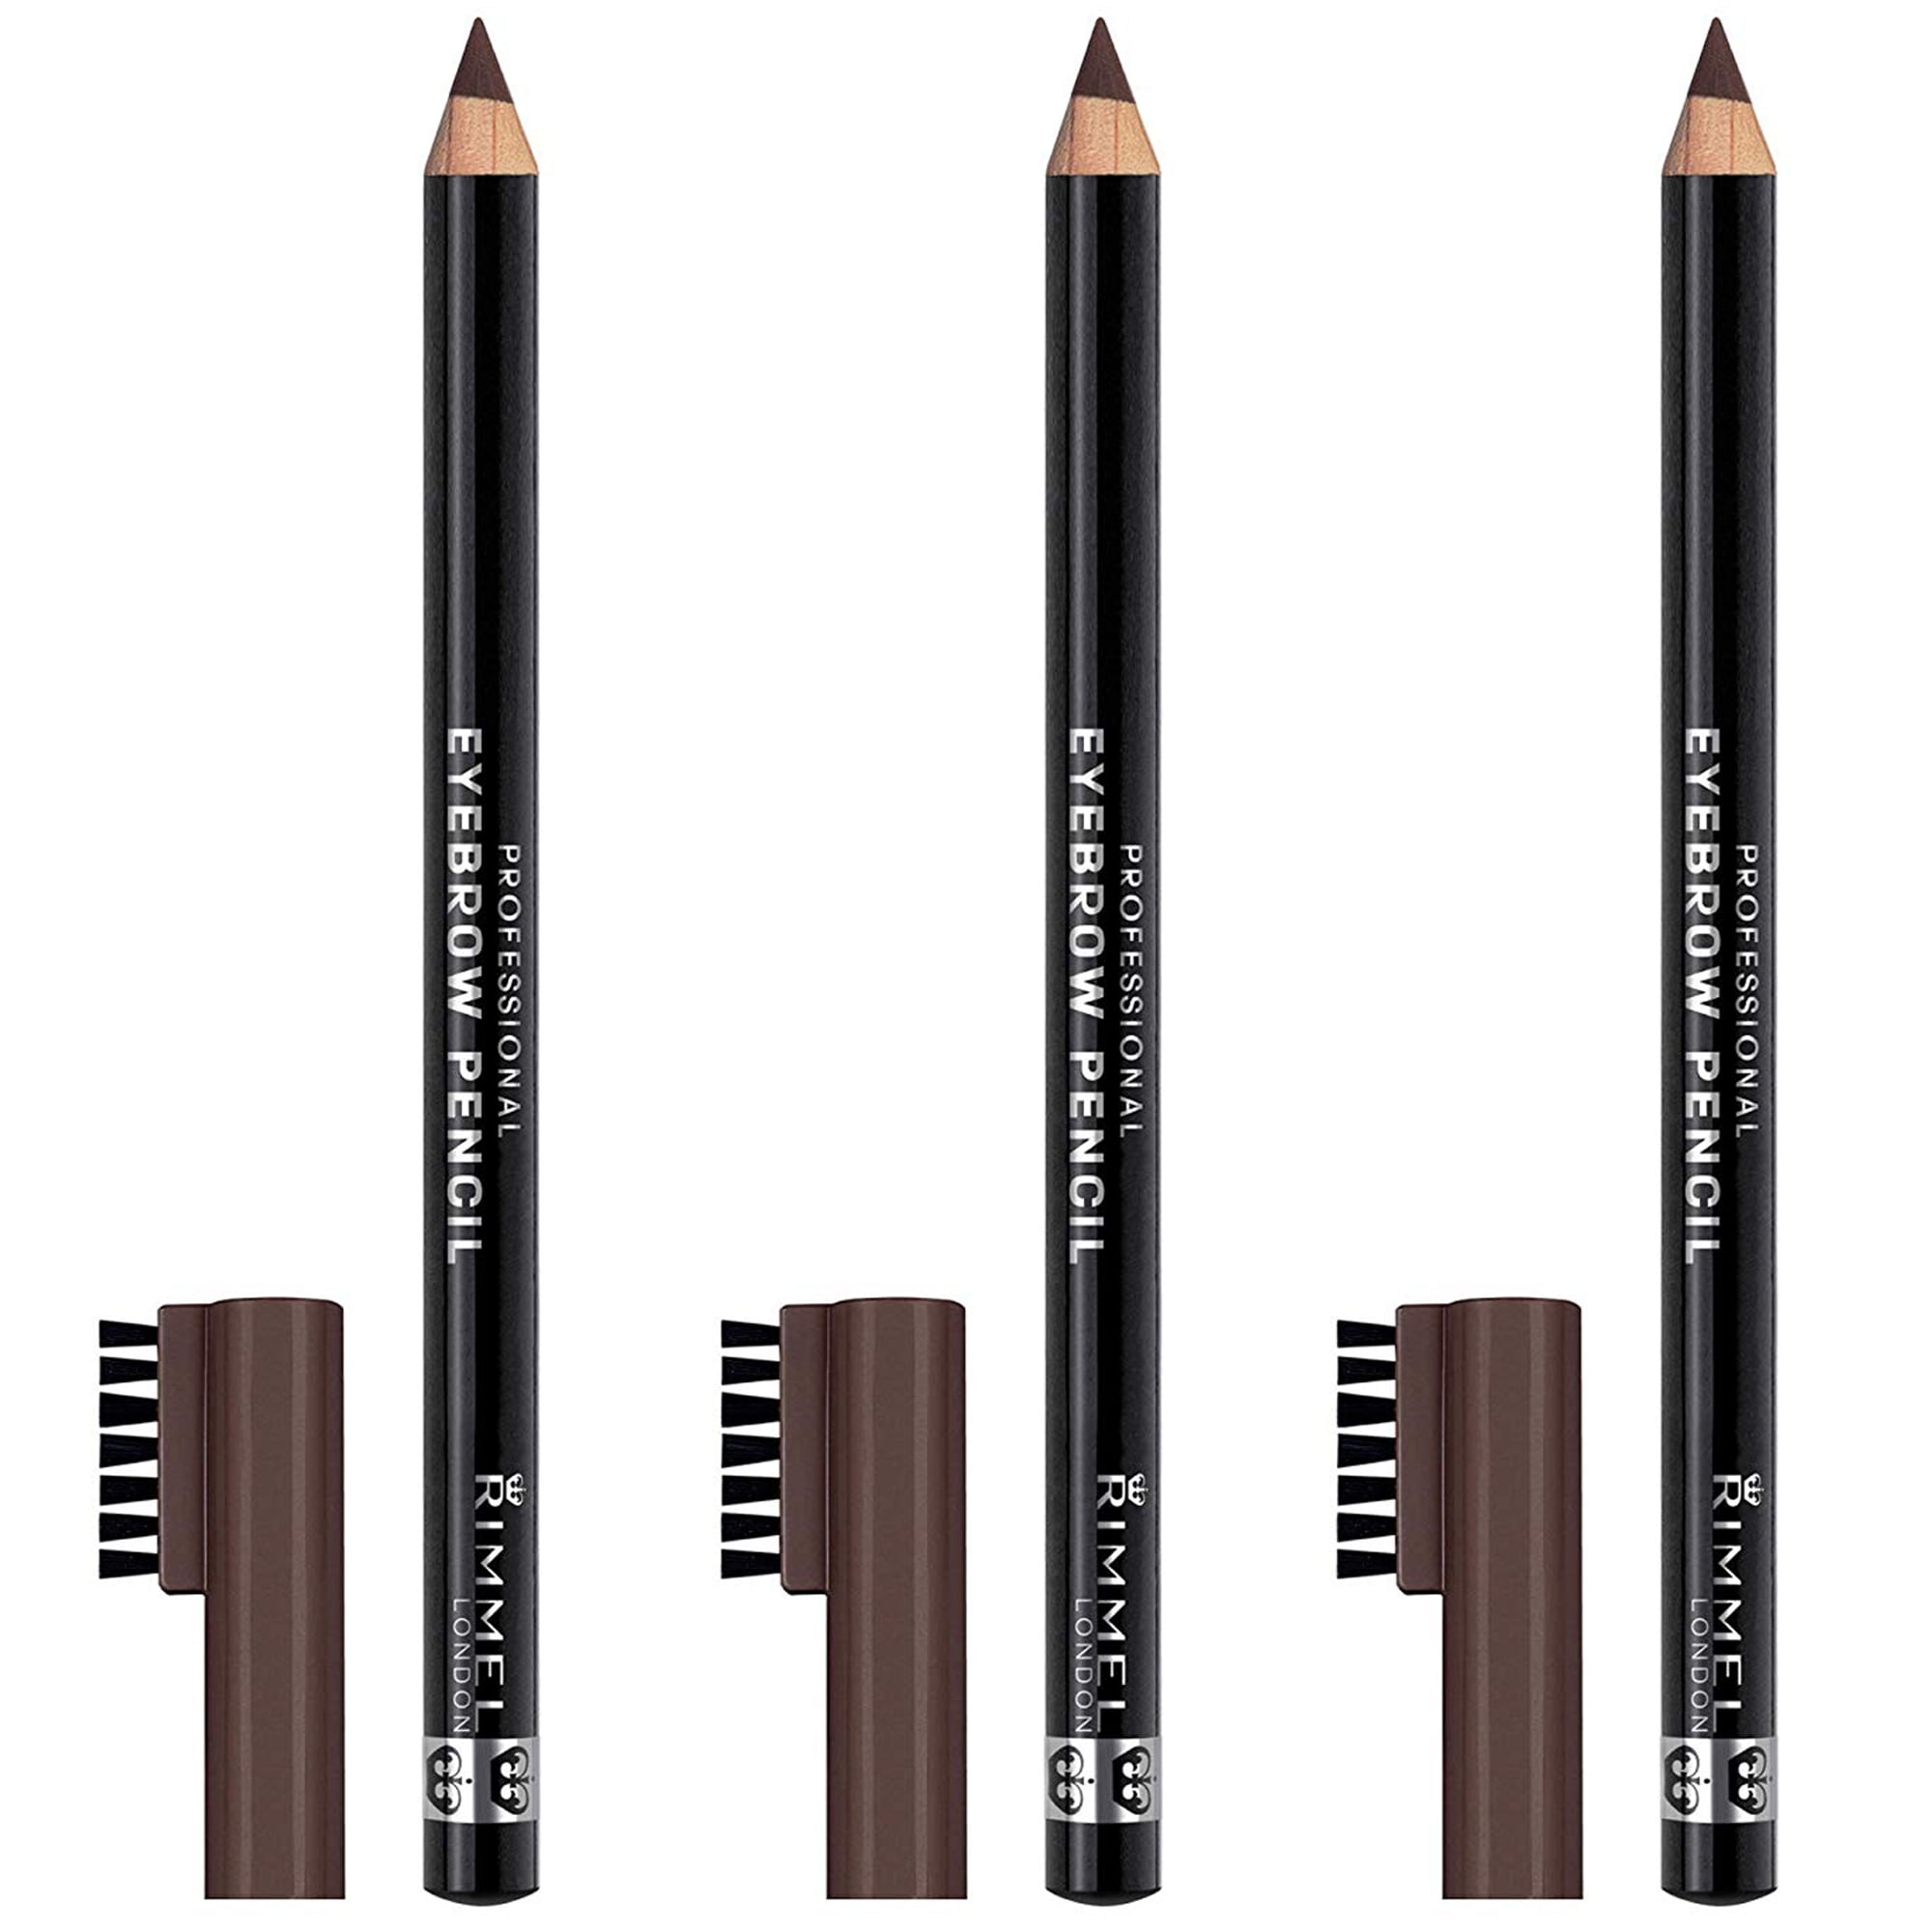
traditional wood eyebrow pencils
A wood pencil must be sharpened. Its main benefit is control. A freshly sharpened tip can create thin marks that resemble brow hairs.
A wood pencil may be a good choice if you want:
- A precise tip
- Easy color control
- A firm texture
- A simple formula
Use a clean cosmetic sharpener made for makeup pencils. A dull or dirty sharpener can make the pencil drag and may contaminate the product.
Retractable eyebrow pencils
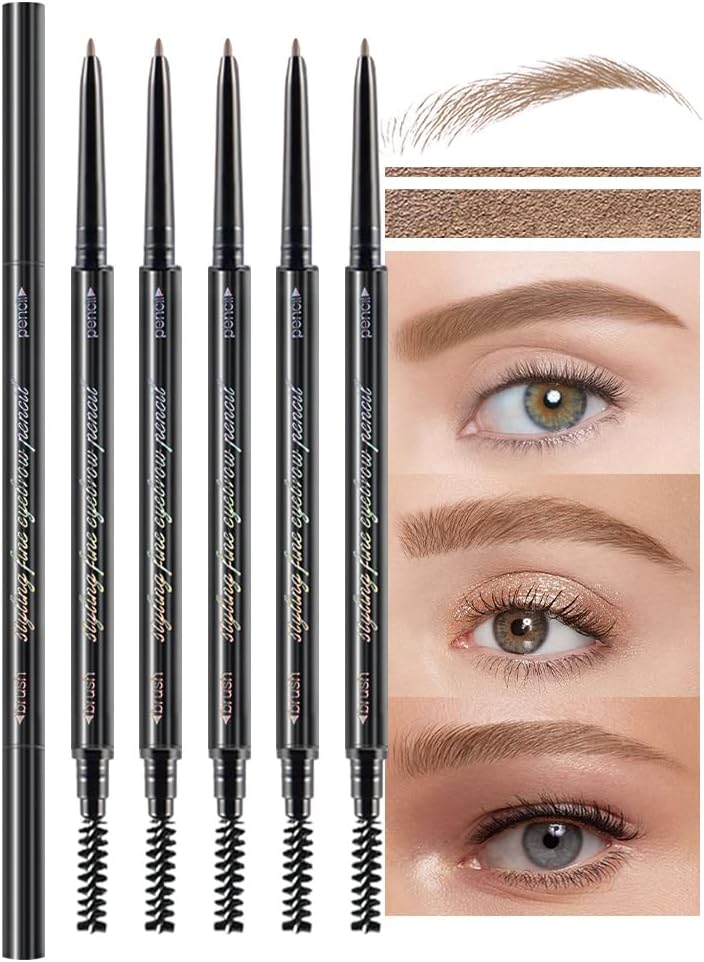
A retractable pencil twists up from a plastic tube. It does not need a separate sharpener.
Many retractable pencils have a slim or angled tip. They can be fast to use, but the tip may become rounded. A rounded tip often makes thicker marks.
Retractable pencils are useful for:
- Quick daily makeup
- Travel
- Touch-ups
- People who do not want to carry a sharpener
Do not twist up more product than you need. A thin pencil can break if too much is exposed.
Mechanical micro pencils
Micro pencils have a very fine tip. They are designed for short strokes in sparse areas.
They offer precision, but they may run out faster than wider pencils. They can also break if you press too hard.
Wax-based pencils
Wax-based pencils have a firm texture. They often grip brow hairs and stay in place well.
A firm pencil can look natural, but it may feel dry if the skin is flaky. Warm the tip slightly on the back of your hand before use if the formula feels stiff. Do not heat it with a flame or other direct heat.
Creamy or soft pencils
Soft pencils glide easily and create stronger color. They can be useful for a bold brow.
They may smudge more easily, especially on oily skin. Use a light hand and blend the color with a spoolie.

How to Use an Eyebrow Pencil
You do not need advanced makeup skills to use an eyebrow pencil. A simple process gives the most natural result.
What you need
Before you start, gather:
- An eyebrow pencil
- A clean spoolie brush
- A mirror with good light
- A clean cosmetic sharpener, if needed
Wash your hands before applying makeup. Start with clean, dry brow skin. Heavy skin care products or foundation on the brows can make the pencil slide.
Step 1: Brush the brow hairs
Brush the hairs upward and outward with a spoolie. This shows where the natural gaps are.
Do not start by drawing a new shape. First, work with the brow hair you already have.
Step 2: Mark the main brow points
Look for three general points:
- The front of the brow
- The highest point of the arch
- The end of the tail
These points vary from person to person. They are guides, not fixed rules. Your natural brow shape should guide the final result.
Step 3: Fill the sparse areas
Use short, light strokes in the direction the hair grows. Use less color near the front of the brow and slightly more toward the arch and tail.
Avoid drawing one long line. Long lines can make the brows look flat and artificial.
Step 4: Define the lower edge
If needed, use a few small strokes under the brow to clarify its shape. Keep the line soft.
A dark, hard line under the entire brow can make the face look severe. Stop when the brow looks more even, not when every pore is covered.
Step 5: Blend with a spoolie
Brush through the brows again. This spreads the color and softens marks.
If the color still looks too dark, brush from the front toward the tail several times. You can also remove a small amount with a clean cotton swab.
Step 6: Check the result in normal light
Look at the brows from a short distance. Check them in daylight or in the light where you will spend most of your time.
A good result usually has:
- A soft front
- A clear but not harsh arch
- A tail that becomes gradually thinner
- Similar color on both sides
- Visible brow hairs or hair-like marks
Perfect symmetry is not required. Natural brows are not exact copies of each other.
How to Choose the Right Eyebrow Pencil
Choose an eyebrow pencil based on color, texture, tip shape, and the finish you want. No single pencil works best for every person.
Choose a color
A close color match usually looks more natural than a dramatic match to your hair color.
Use these general guidelines:
- Blonde hair: Try taupe, soft blonde, or light brown.
- Brown hair: Try a shade close to the brow hair, often medium or deep brown.
- Black hair: A dark brown may look softer than pure black.
- Red or auburn hair: Try warm brown, auburn, or muted reddish brown.
- Gray or silver hair: Taupe or cool gray-brown may blend well.
Your skin undertone also matters. Cool undertones may suit ash or gray-brown shades. Warm undertones may suit neutral or warm brown shades.
When unsure, choose a slightly lighter and more neutral shade. A light layer can be built up. A pencil that is too dark is harder to correct.
Choose the texture
Use a firm pencil when you want fine strokes and a soft, natural effect. Use a creamy pencil when you want faster coverage or a stronger brow.
If you have oily skin, a firmer formula may resist smearing better. If you have dry or flaky skin, a very dry pencil may look uneven.
These are general tendencies, not guarantees. Formula performance can differ by brand, skin type, climate, and skin care products.
Choose the tip shape
| Tip shape | Main benefit | Possible limit |
|---|---|---|
| Fine point | Creates small, hair-like strokes | May take longer to use |
| Angled tip | Fills and defines larger areas | Can make thick marks |
| Flat tip | Applies color quickly | Offers less detail |
| Rounded tip | Blends soft color | May look less precise |
Look for eye-area safety information
Cosmetics sold in the United States must follow applicable safety and labeling rules from the U.S. Food and Drug Administration. Read the label and follow the product directions.
Avoid products that are not made for the eye area. “Natural” does not automatically mean safe near the eyes. Ingredients can still cause irritation or an allergic reaction.
Eyebrow Pencil Safety and Hygiene
Eyebrow pencils are generally used on the skin around the brows, but the area is close to the eyes. Safe use matters.
Follow these rules:
- Do not share an eyebrow pencil or spoolie.
- Do not use eye-area makeup if you have an eye infection.
- Stop using the product if it causes burning, swelling, rash, or unusual redness.
- Keep the pencil and cap clean.
- Do not apply makeup while moving in a car or other vehicle.
- Keep the pencil away from the inside of the eye.
- Do not add water, saliva, or other liquids to the formula.
- Store the product as directed on the label.
- Replace a product if its smell, texture, or appearance changes.
If irritation continues after you stop using the product, contact a health care professional. Seek prompt medical care for severe swelling, eye pain, vision changes, or trouble breathing.
The FDA advises consumers not to share eye cosmetics and not to use eye makeup during an eye infection. Those steps reduce the chance of spreading germs or worsening irritation.
Can you sharpen an eyebrow pencil safely?
Yes, if it is a sharpenable cosmetic pencil. Use a clean sharpener designed for makeup pencils.
Clean the sharpener according to its instructions. Do not use a school pencil sharpener that may have residue from graphite or other materials.
Do not sharpen a retractable pencil unless the label says that it is designed for sharpening. The casing may break or expose too much product.

Common Eyebrow Pencil Mistakes
Most brow mistakes are easy to fix. The main problem is usually too much product, too much pressure, or too little blending.
Drawing one solid line
A solid line does not look like brow hair. Use short strokes instead. Leave small areas of natural skin visible.
Making the front too dark
The front of the brow should usually look softer than the arch and tail. Brush the front with a spoolie and add less product there.
Using a shade that is too warm
A red or orange brow can look unnatural on some skin tones. Try a neutral or ash-brown shade if warm color stands out.
Pressing too hard
Hard pressure creates dark marks and may irritate the skin. Hold the pencil lightly and build color in thin layers.
Making both brows identical
Brows are naturally different. Aim for balance, not perfect duplication. Over-correcting one brow can make both look unnatural.
Skipping the blend
Even a well-placed pencil can look sharp before brushing. A few spoolie strokes can soften the color and spread it across the hairs.
Applying over oily skin care
Oil can reduce wear and make the pencil move. Gently blot the brow area first. Avoid rubbing, which can disturb the skin and hairs.
Eyebrow Pencil, Gel, Powder, and Pomade: Which Is Best?
The best brow product depends on the result you want.
| Product | Best for | Finish | Main trade-off |
|---|---|---|---|
| Eyebrow pencil | Filling gaps and drawing strokes | Natural to defined | Can look harsh if overused |
| Brow powder | Soft color and fullness | Soft and diffused | Less precise for small gaps |
| Brow gel | Holding hairs in place | Clear or tinted | Adds less shape on bare skin |
| Brow pomade | Strong shape and color | Defined or bold | Needs careful blending |
| Brow marker | Sharp, lasting marks | Defined | Less forgiving during application |
Many people combine products. For example, a pencil can fill gaps, while a clear brow gel can hold the hairs in place.
If you want the simplest routine, start with a pencil and spoolie. If your main concern is unruly hair, a brow gel may help more than a pencil.

Frequently Asked Questions
Is an eyebrow pencil the same as eyeliner?
No. Eyebrow pencils are made for brow hairs and nearby skin. Eyeliner is made for the eyelids or lash line. They may have different textures, pigments, and safety directions.
Can an eyebrow pencil grow eyebrows?
No. An eyebrow pencil adds temporary color. It does not make brow hair grow. If you notice sudden hair loss, bald patches, or other skin changes, ask a health care professional for advice.
Should an eyebrow pencil be darker or lighter than your hair?
A shade close to your natural brow color often looks best. A slightly lighter or softer shade can be easier to blend. Very dark color may look harsh, especially at the front of the brow.
How long does eyebrow pencil makeup last?
Wear time depends on the formula, skin oil, sweat, rubbing, humidity, and skin care products. A firm, long-wear formula may stay in place longer, but no pencil is guaranteed to last the same way on every person.
Can you use an eyebrow pencil every day?
Many people use one daily without a problem. Use it only as directed, keep it clean, and stop if you develop irritation. Remove makeup gently at the end of the day.
Conclusion
An eyebrow pencil is a cosmetic tool that adds temporary color and shape to the brows. It can fill gaps, define the brow, and make sparse areas look fuller.
For a natural result, choose a suitable shade, use light hair-like strokes, keep the front soft, and blend with a spoolie. Keep the product clean, do not share it, and stop using it if it irritates your skin or eyes.
For most beginners, a firm pencil with a spoolie offers a simple place to start. Use less product than you think you need, then build the color slowly.